How I built this blog
A domain for email turned into a personal blog. Here’s the stack and publishing workflow behind it.
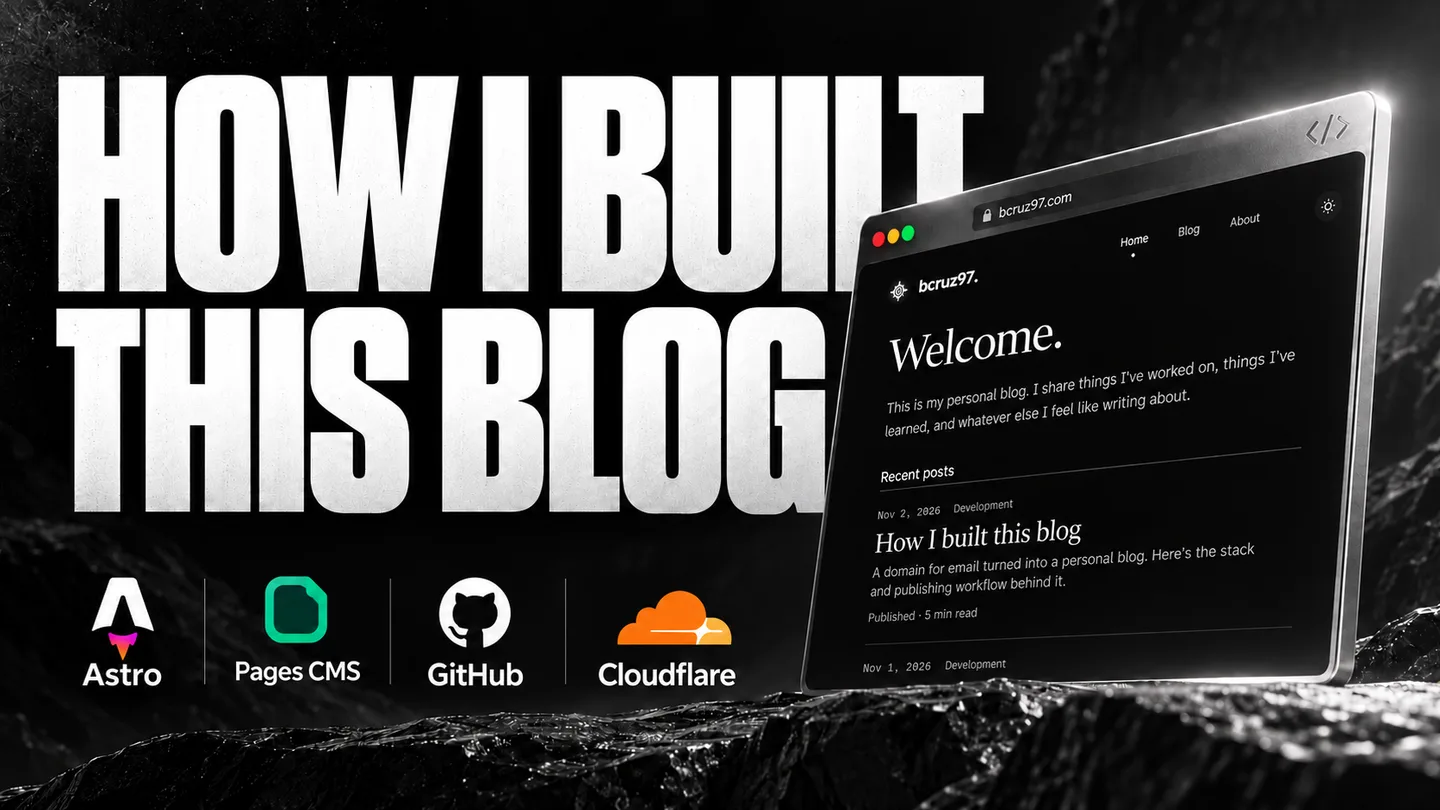
I originally bought this domain for a more fancy email setup. With the domain sorted, I figured I could finally put another idea into practice: the blog I’d been meaning to start for a long time.
That meant building the site and figuring out a way to write and publish posts that I’d be happy to keep using.
The requirements were fairly straightforward. I wanted a simple site that worked well on a phone, content I could keep in files, and a way to review changes before publishing. I also wanted to write from my phone without needing a terminal or a local development environment.
Here’s how the pieces fit together.
Astro and Markdown
The site is built with Astro. Each post is a Markdown file in the repository, with frontmatter for its title, description, date, category, and draft status:
---
title: Something I wanted to share
description: A short description of the post.
pubDate: 2026-11-02
category: Development
draft: true
---
The writing goes underneath. Astro reads the posts and generates the home page, blog list, and individual articles during the build. The public pages are generated ahead of time, so serving an article doesn’t require fetching its content from a database.
For this kind of site, that felt like a good fit. The content is mostly text and media, and it only changes when I publish something. Keeping posts in Markdown also means I can edit them outside the CMS, track changes with Git, and change the site’s layout without moving the writing into a different system.
An editor I can use from my phone
Working directly with Markdown is fine at my desk. On my phone, I wanted an editor with fields and an upload button.
Pages CMS provides that interface over the GitHub repository. Its .pages.yml configuration defines the post fields, category collection, and media upload locations. When I save something in the editor, the change is committed back to GitHub.
The content stays in the same files whether I edit it locally or through the CMS. There’s no separate copy of a post to keep in sync.
Categories live in their own collection, so I can create a category once and select it for related posts. On the blog, those categories become filters that work alongside text search.
Handling media during the build
The editor lets me choose a thumbnail and insert images into the writing. Local photos get smaller WebP versions during the build, and the generated pages provide several sizes for the browser to choose from. That avoids loading a full-size photo just to display a small thumbnail, while keeping the uploaded original unchanged.
Audio and short video clips can appear between paragraphs too. A standalone link to a supported file becomes a player with controls. YouTube links work in a similar way, becoming embedded videos when the post is built.
These transformations happen automatically, so writing a post doesn’t require putting together the same player markup each time. Reading time is calculated from the text as well.
Separating preview from production
I wanted to check unfinished posts in the actual site layout before publishing them. The repository uses two branches:
previewis where I write and review changes.maincontains what gets deployed to the live site.
A GitHub Actions workflow builds the preview branch and deploys it to a separate Cloudflare Worker. That build includes both drafts and published posts, with their status labelled on the page.
The preview Worker checks for a signed login cookie before serving any page or uploaded file. It refuses access if the password hasn’t been configured. Preview responses are also marked not to be cached or indexed.
The public build excludes drafts from article routes, post lists, and RSS. That check is independent of the branch: merging a draft’s file into main doesn’t publish the article while Draft is still enabled.
The preview password protects the website, but the repository itself is public. Anyone can read draft files committed there. I use the preview to review how unfinished posts look.
Publishing a post
The writing workflow is:
- Open Pages CMS on the
previewbranch. - Write or edit a post, then save it.
- Wait for the GitHub Actions deployment and check the preview site.
- Turn off Draft when the post is ready, save, and review it again.
- Open a pull request from
previewtomain, then merge it.
Cloudflare’s Git integration builds and deploys main after the merge. The live site runs on Cloudflare Workers with static assets, using my domain.
GitHub Actions also checks changes by building both versions of the site and verifying that draft article pages stay out of the production build. Preview deployments have their own workflow; Cloudflare’s Git integration handles production.
That gives me a place to check both writing and code changes before they reach the live site. It also means I can go through the publishing process from my phone, while still having the repository and local tools available when I want to work on the site itself.
The project itself still has a lot of room to grow. This is what I’ve put together with help from Codex so far, I’ll keep improving it as I use it and get a better feel for what I want from it.
The source code is public on GitHub if you want to look through the site and its workflows.
What began as a domain for email now has a blog attached to it. The next part is finding out how well this setup holds up as I keep writing.